Advent
Advent is coming! First candle is on! Hooray!

Wow! I even painted 2D candles on that 3D lifebuoy! That looks... uh. Whatever! Christmas! Santa! Hey!
Okay.. now prepare for some technical stuff! Fun Fun Fun!
Technical Stuff: Dithering
Dithering is a technique which "fakes" color detail by smartly painting pixels in only few different colors.
One common use case is image compression which works with color palettes. The advantage of palettes is that you don't have to save red, green and blue (and possibly alpha) color information per pixel. Instead you just create a palette with all colors used in the image and then you just save the palette index pointing to that color for each pixel.
In best case this requires much less memory per pixel.
To make that approach efficient the palette must be as small as possible though.
Firstly because the palette itself needs to be saved as well and secondly because the data required for each pixel grows with the size of colors in the palette.
Dithering can be used to reduce the amount of colors in the image. You can for instance create a fake orange by making every even pixel yellow and every odd pixel red. With more sophisticated patterns you can even fake color gradients using just 2 colors.
Fake Transparency With Dithering
A different use case for dithering is faking transparency. It basically works the same way. If you want an image to look transparent you just skip some pixels using a pattern. The more transparent the image is the more pixels are skipped when rendering it.
But Why?
Why would you want to do that though? I mean dithering is visible and looks worse than using more colors / mixing pixels to calculate proper transparency.
The answer is simple: Speed!
When rendering 3D scenes real transparency is quite expensive and costs a lot of performance. The reason for this is they way a 3D scene is rendered. The GPU creates a Z-Buffer which calculates the depth of 3D objects in the scene and is used to determine what to render and in which order. That way the GPU can quickly skip rendering of pixels of objects which are occluded by other objects in front of them. Transparent objects however don't work with that approach because their color has to be mixed with objects behind them. They kind of break the Z-Buffer rendering approach. In Unity transparency can also have a negative impact on batching which can also decrease performance. Fake transparency with dithering dodges these problem because there are no semitransparent pixels anymore which need to be mixed.
Can I Dither In Unity?
Because of the stuff explained above I want to use dithering for transparency! Especially for showing/hiding objects which are far away. I want these to fade in/out smoothly instead of suddenly popping in and out.
Unity supports dithering but there is no proper documentation for that feature and I had to search a lot to make it work. Unity can use dithering for LOD crossfading but all used shaders need to be properly adjusted to support it. At the bottom of the "LOD Group" documentation page we see the variable which controls the transparency: unity_LODFade. So we don't have to use the "LOD Group"-component to make it work (and I don't want to use it for some reasons). We just have to set the unity_LODFade value in all used shaders/renderers to control their fading/transparency value.
Luckily I found this forum post which explains how to do it. Hooray!
1
2
3
4
5
6
7
8
9
10
//Call inside Start()
rend.sharedMaterial.EnableKeyword("LOD_FADE_CROSSFADE");

// Coroutine/Lerp this
Vector4 fadeOutVec = new Vector4(tFadeOut, tFadeOut);
block.SetVector("unity_LODFade", fadeOutVec);
rend.SetPropertyBlock(block); // Blocks can be pooled

// Call this one frame after tFadeOut == 0, this will cause static batching to work again
rend.SetPropertyBlock(null);
That post also mentions how shaders need to be adjusted for that dither crossfade fun but the explanation isn't very detailed. A better explanation for shader adjustment can be found in this post. Furthermore in that post there's a link to a simple shader which supports dithered transparency / crossfading. It's great for reference and to get started and helped me to adjust other existing shaders to also support dithered transparency.
Optimizations
The code snippet above says in a comment that the ProperyBlocks can be pooled.
In fact you don't even need real pooling there. You can just create one PropertyBlock for each transparency level and use those as often as you want to. This is also what the documentation suggests:
Quote
The block passed to Graphics.DrawMesh or Renderer.SetPropertyBlock is copied, so the most efficient way of using it is to create one block and reuse it for all DrawMesh calls.
Actually they even suggest to only use one PropertyBlock for everything. I want to skip the overhead of changing the fade value however so I guess my approach is fine too.
I somewhere read that Unity's dither pattern has 16 levels so I prepared my PropertyBlocks this way:
1
2
3
4
5
6
7
8
9
readonly int LodFadeNameID = Shader.PropertyToID("unity_LODFade");
var propBlocks = new MaterialPropertyBlock[16];
for (int i = 0; i < 16; i++)
{
	propBlocks[i] = new MaterialPropertyBlock();
	float fadeValue = (i + 1) / 16f;
	Vector4 fade = new Vector4(fadeValue, fadeValue);
	propBlocks[i].SetVector(LodFadeNameID, fade);
}
Now to set the transparency of an object the following needs to be done:
1
2
3
4
5
6
7
8
9
10
11
12
13
14
// Enable crossfade keyword, only needs to be done once
// (Maybe this doesn't need to be done at runtime at all? Further research required!)
var renderers = GetComponentsInChildren<Renderer>(true);
foreach (var renderer in renderers)
{
	renderer.sharedMaterial.EnableKeyword("LOD_FADE_CROSSFADE");
}

// Set transparency (assuming that transparency is a float from 0.0 to 1.0)
int index = Mathf.Clamp(Mathf.RoundToInt(transparency * 15f), 0, 15);
foreach (var renderer in renderers)
{
	renderer.SetPropertyBlock(propBlocks[index]);
}
Also when the transparency is back to 1 (fully opaque) the PropertyBlock should be unset. That's because using a different material block breaks Unity's batching and therefore can have a negative impact on rendering performance.
1
2
3
4
foreach (var renderer in renderers)
{
	renderer.SetPropertyBlock(null);
}
Whew! That was a long one!
Not sure if this is helpful to anyone but I think it's a very important and useful thing which is why I wanted to write it down.
Here's what it looks like (in the big version you can even see the dither pattern):
 Click for bigger version (2.6 mb)
btw: The compression of that gif is probably one of the best examples for color palettes and dithering! 
btw²: Dithering can be seen in a lot of games. So now you know why. It's all about performance (oh and sometimes it also prevents some ugly rendering/sorting issues which can occur with real transparency) edited 1×, last 28.11.21 10:30:49 pm
 Stranded III Dev. Blog


 Offline
 Click for bigger version
 Click for bigger version
 Click for bigger version
 Click for bigger version
 Click for bigger version
 Click for bigger version (2.6 mb)
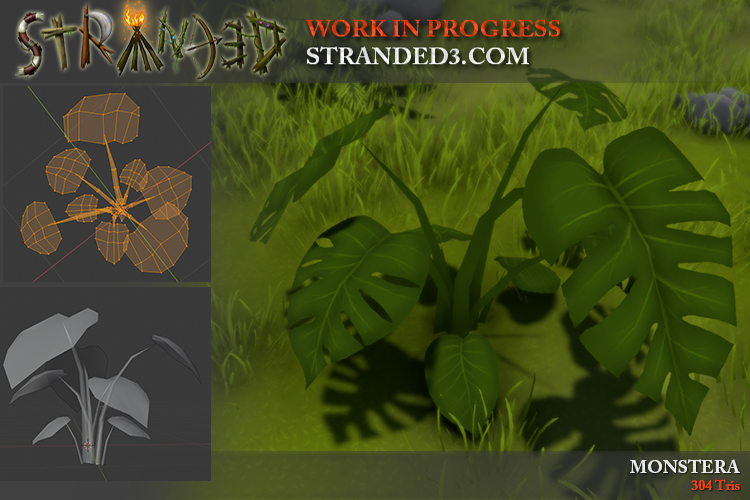 Click for bigger version
 Texture with swaying based on Y-coordinate. Click for bigger version
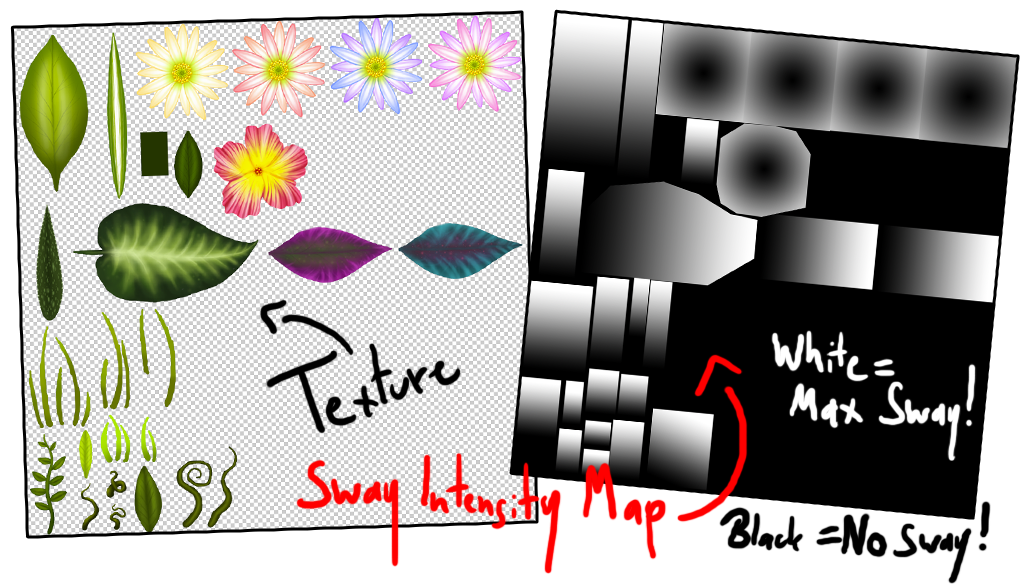 Texture & matching sway intensity texture. Click for bigger version
 It's more annoying to share maps and savegames because you have to share a complete folder and not just a single file
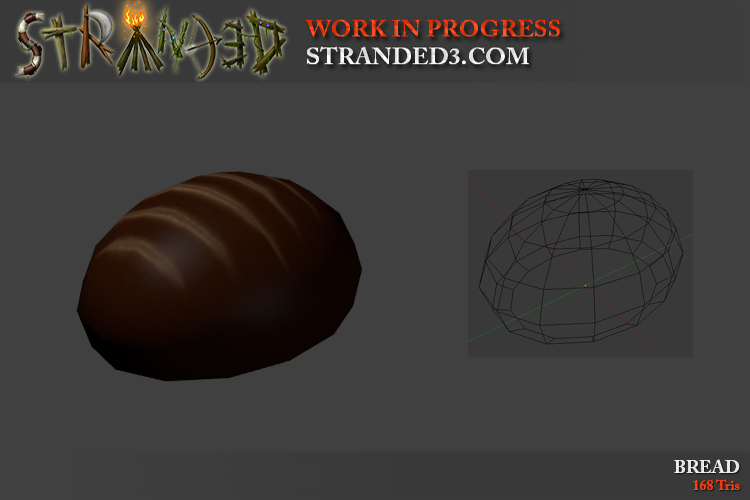 old ugly bread model
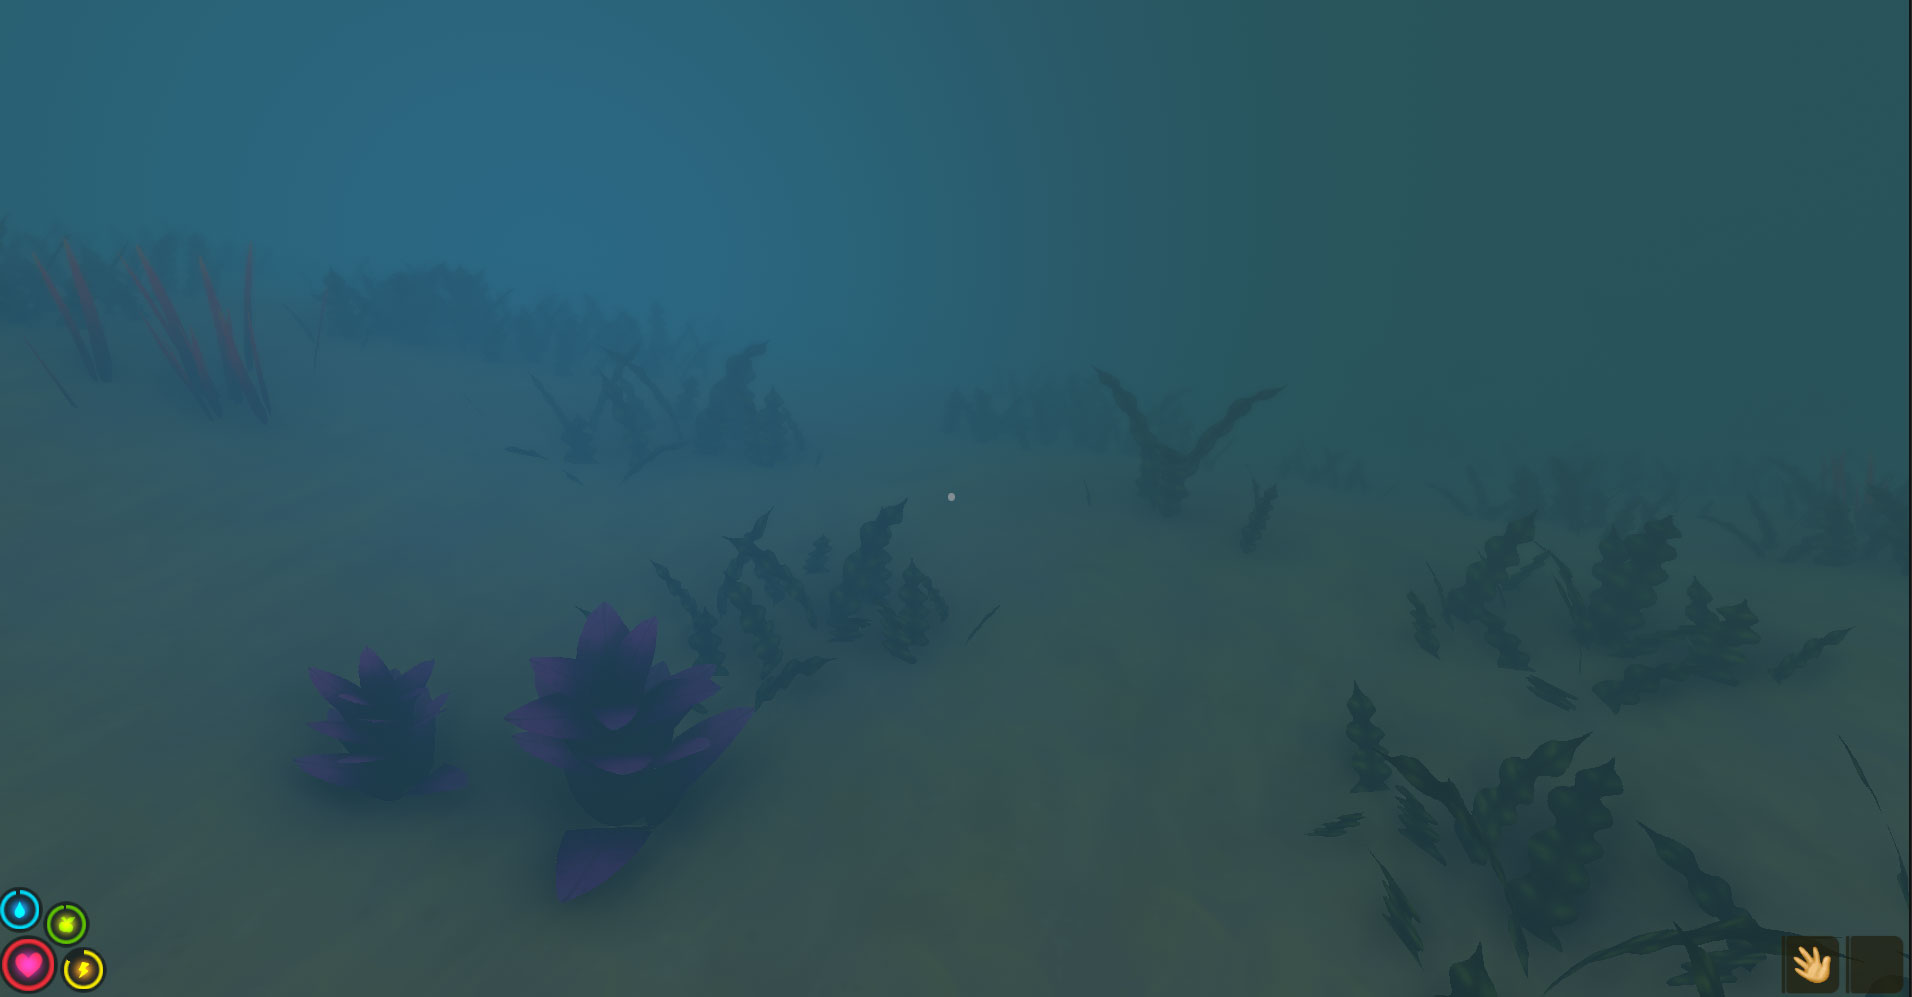 Underwater ground foliage. Click for bigger version
 Jungle ground foliage. Click for bigger version
 By entering red, green, blue and alpha (transparency) values (0-255) in the input fields
 The dialog editor (with a super deep sample dialog)
 Cactus
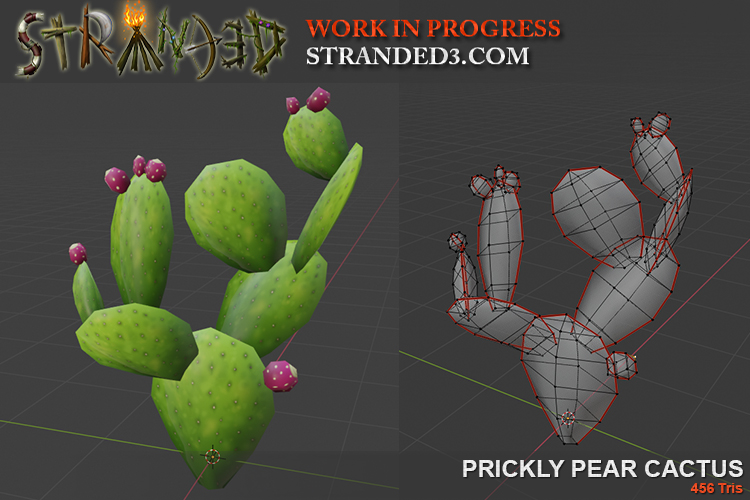 Prickly Pear Cactus
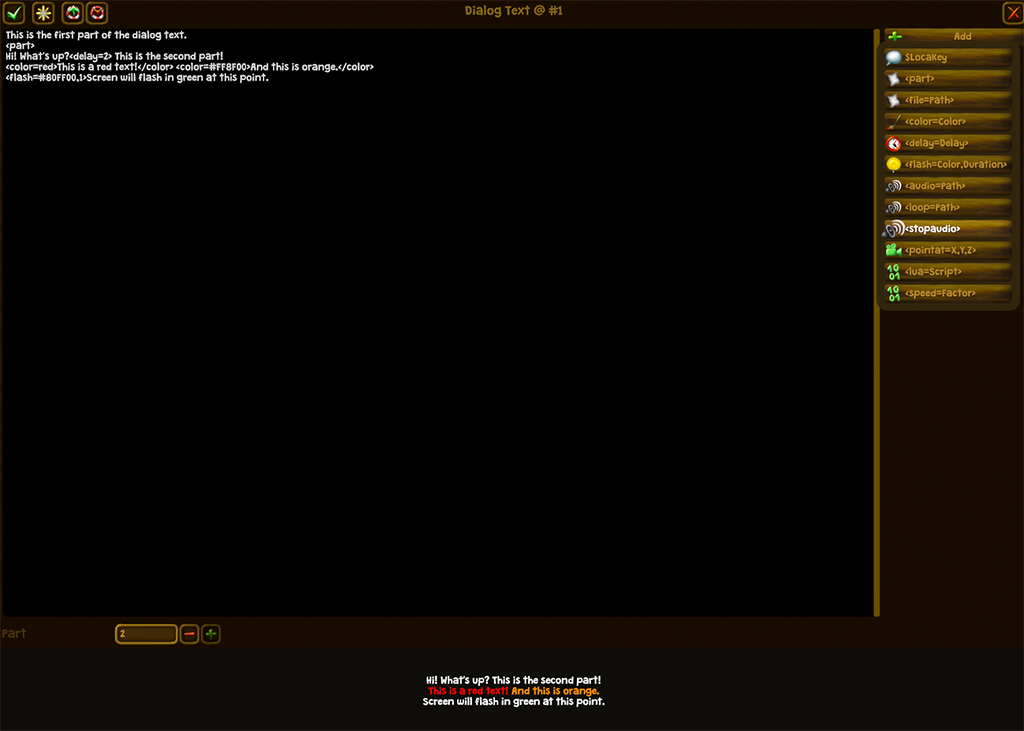 Dialog Text Editor
 Bamboo Plant
 It makes it harder to trigger critical actions by accident
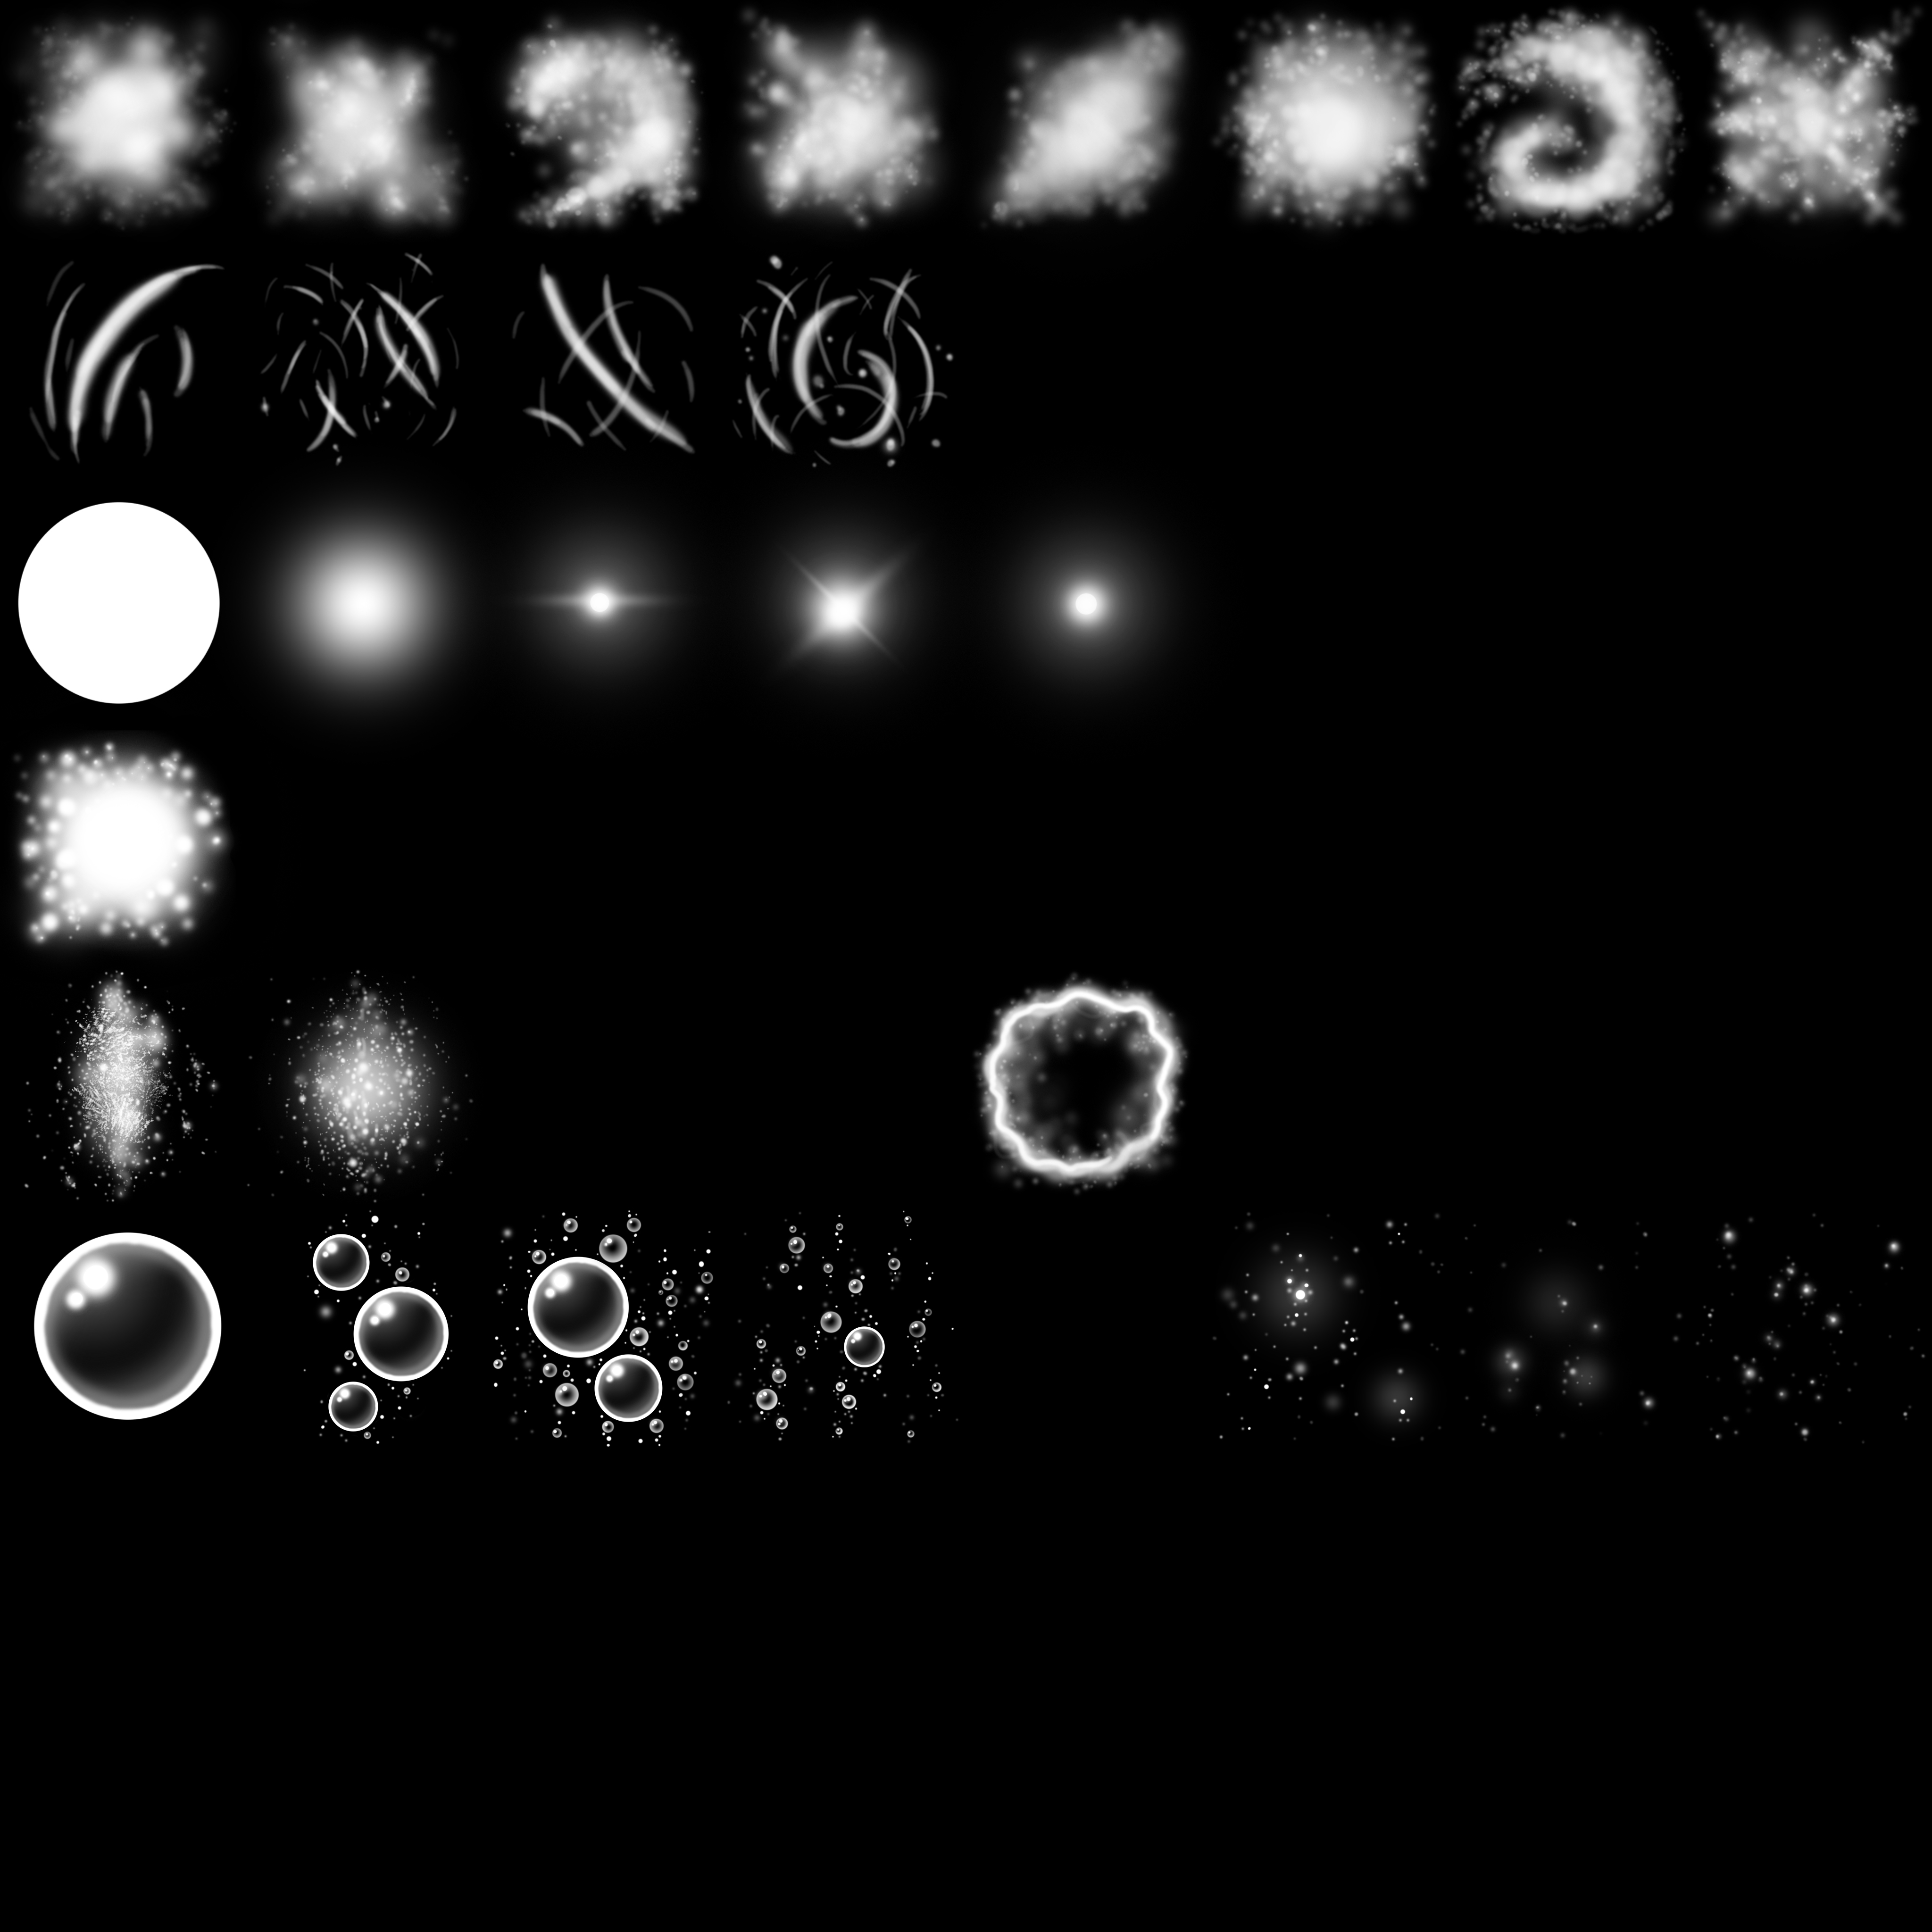
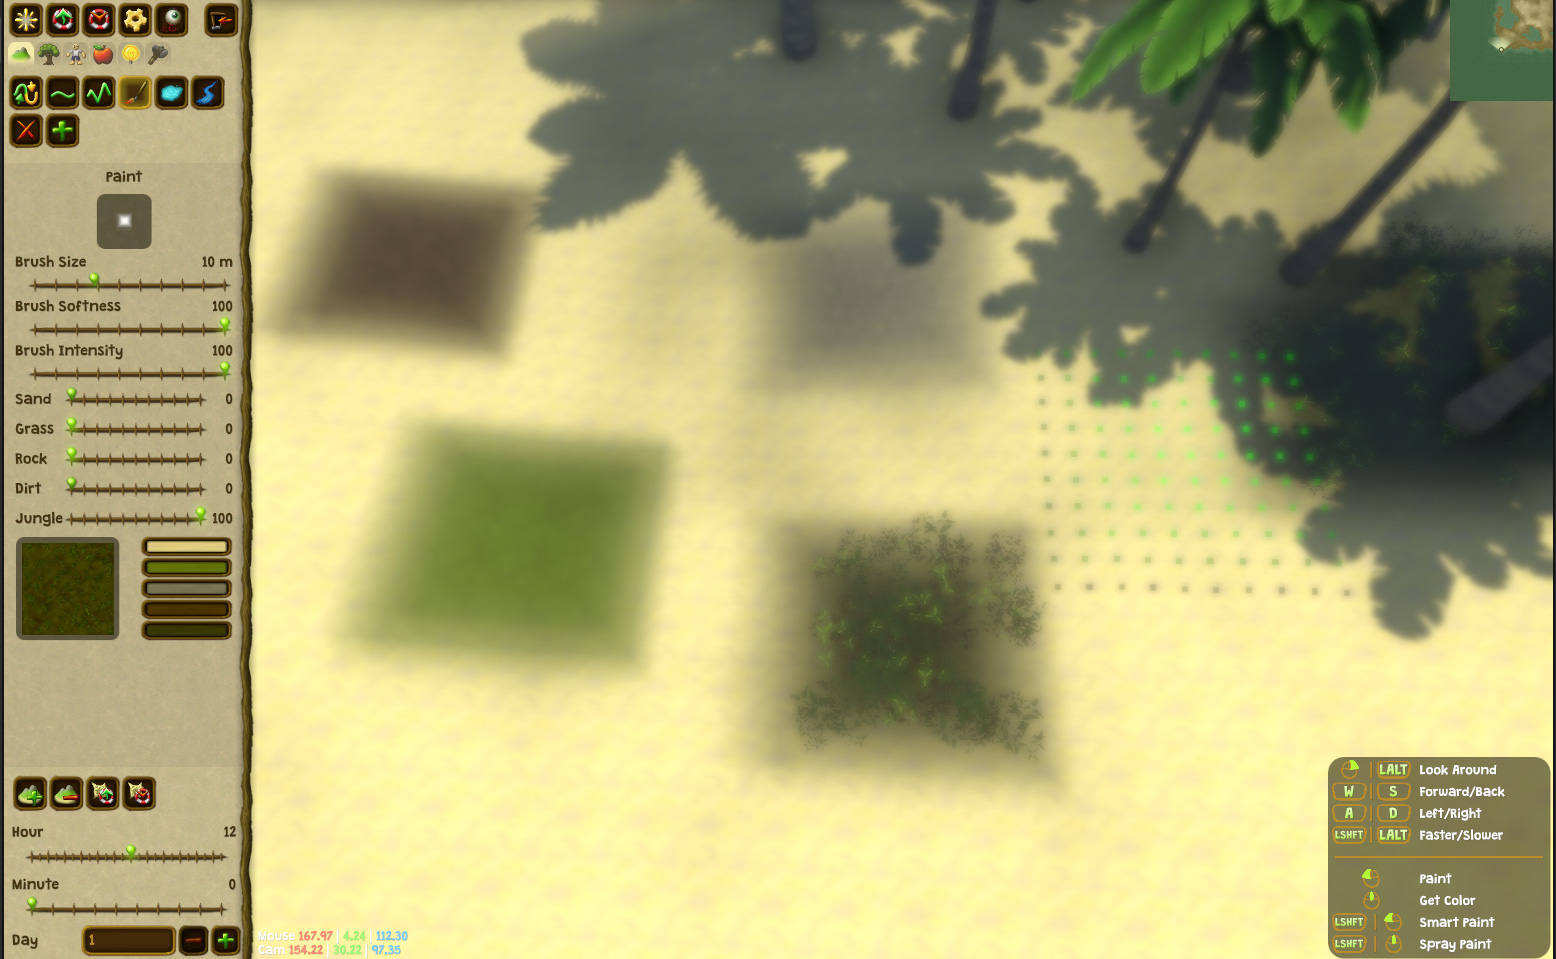 A rectangular brush used with the painting tool
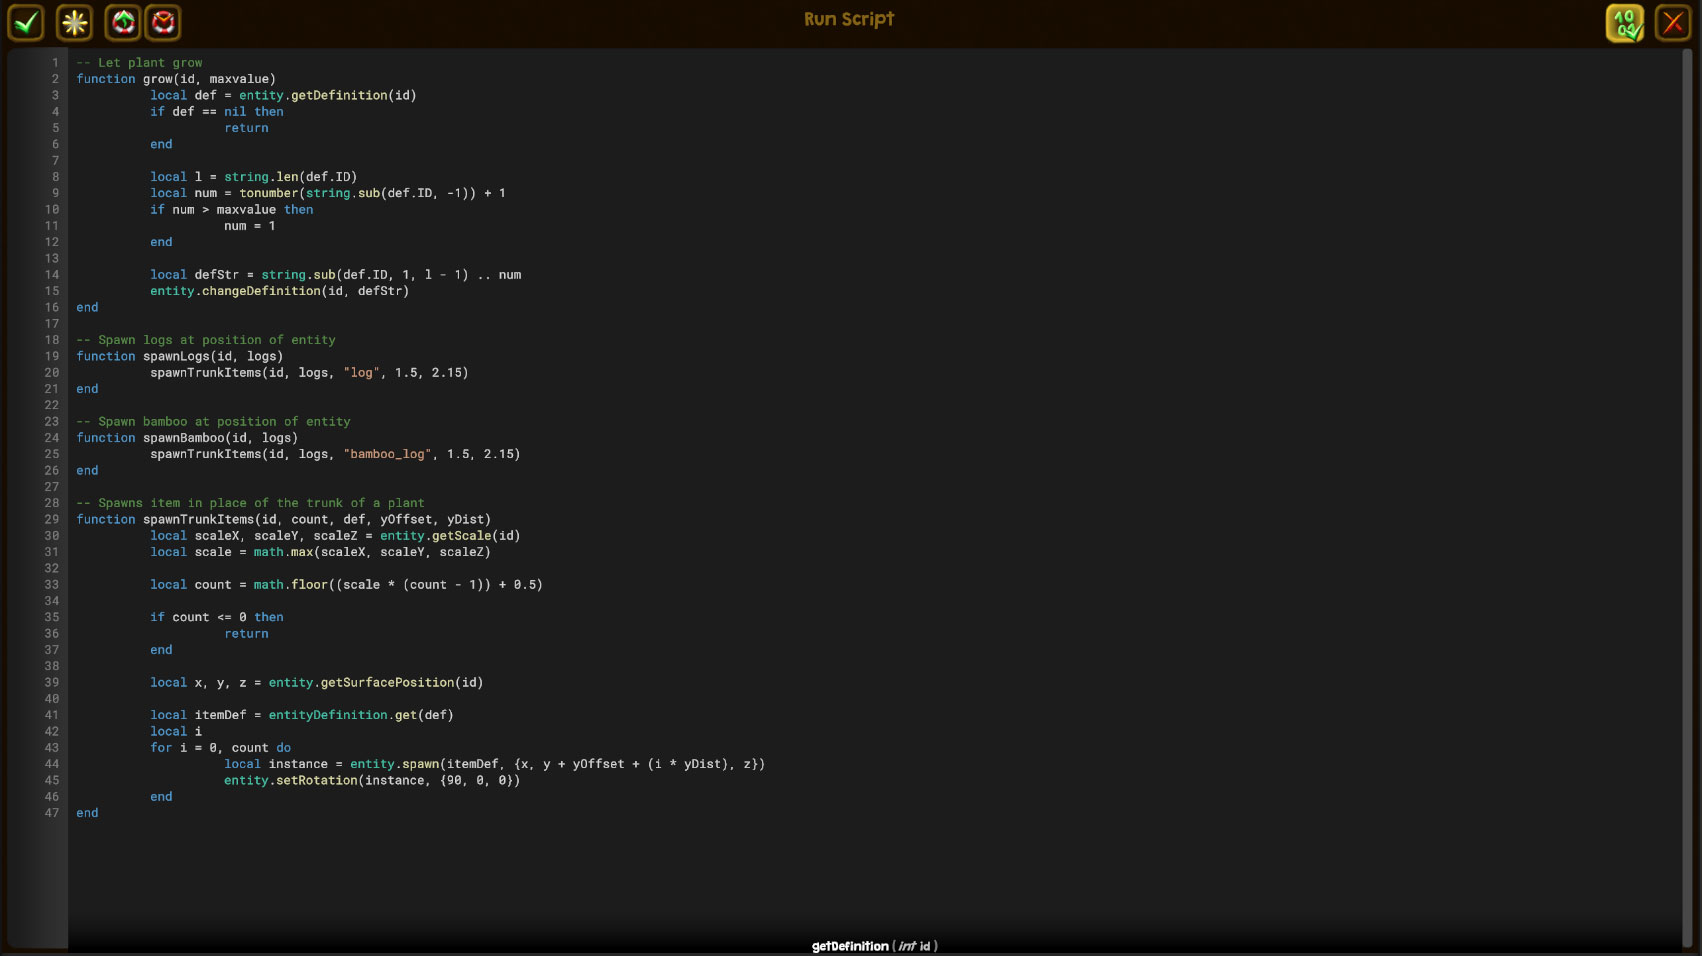 The script editor
 Colorful butterflies! Yay!
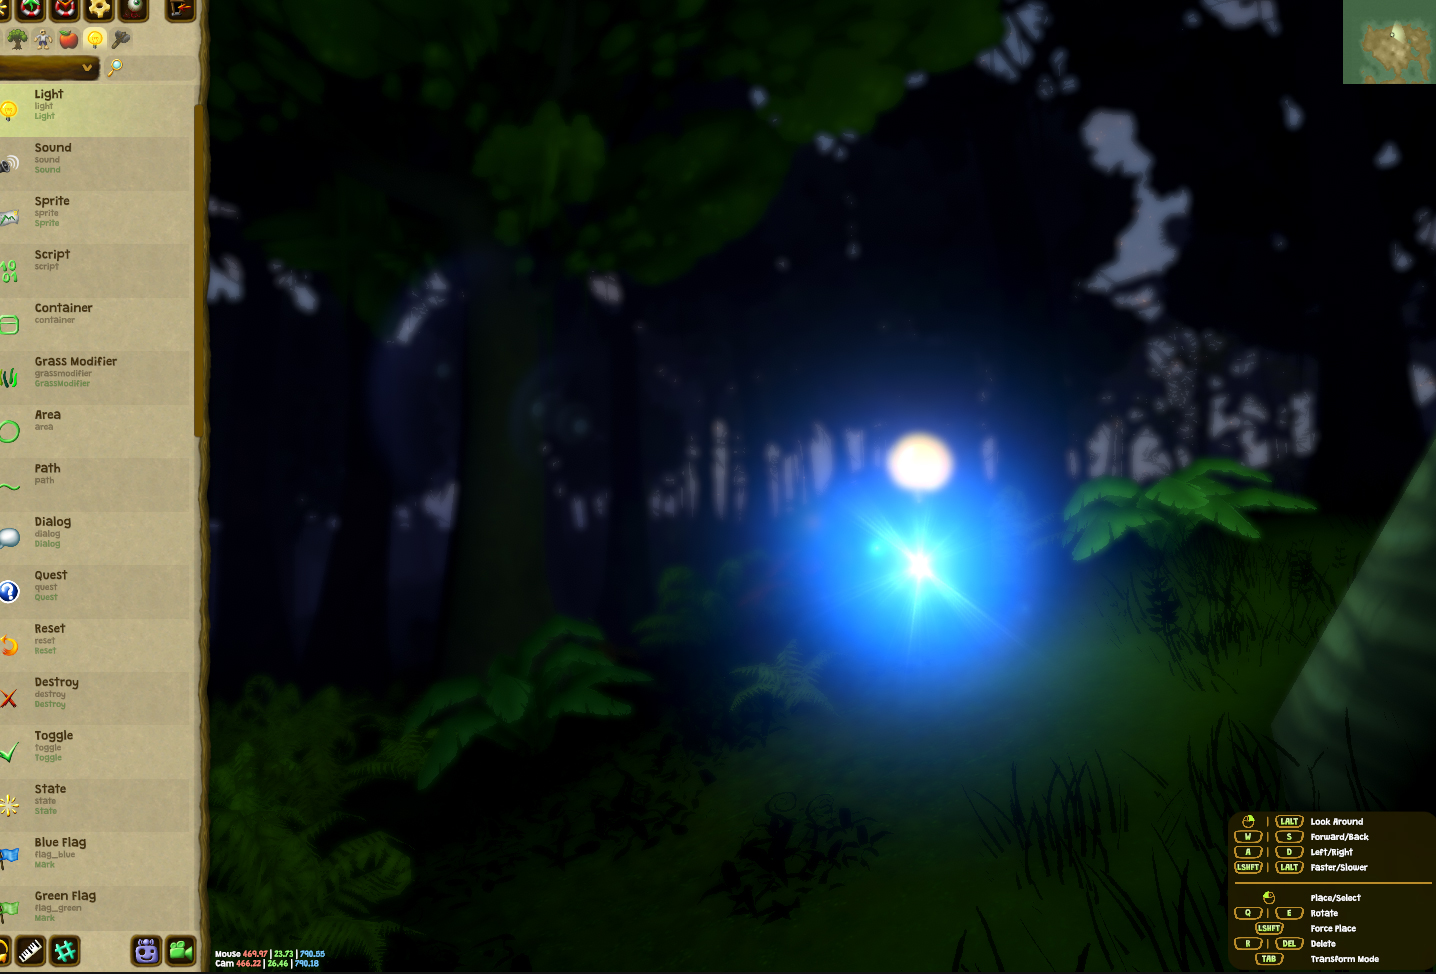 Light entity with a flare in the map editor
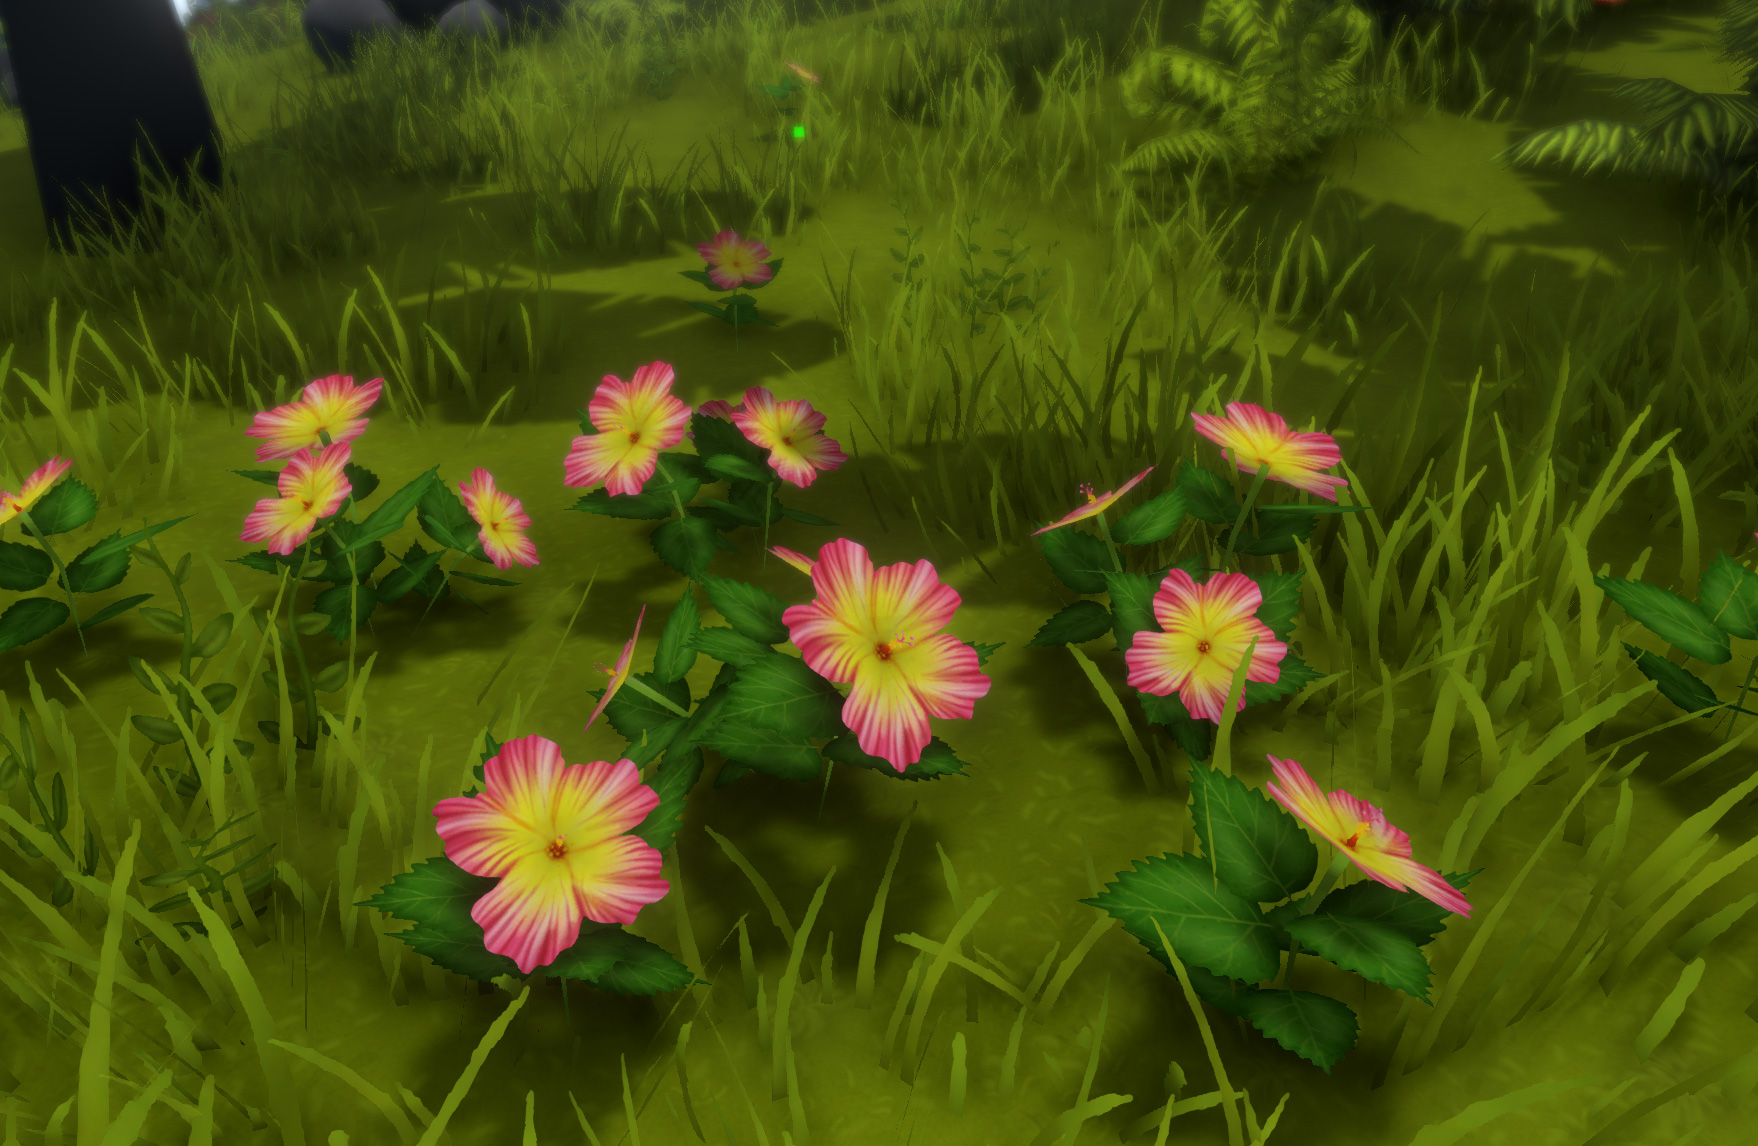 Hibiscus
 Zantedeschia
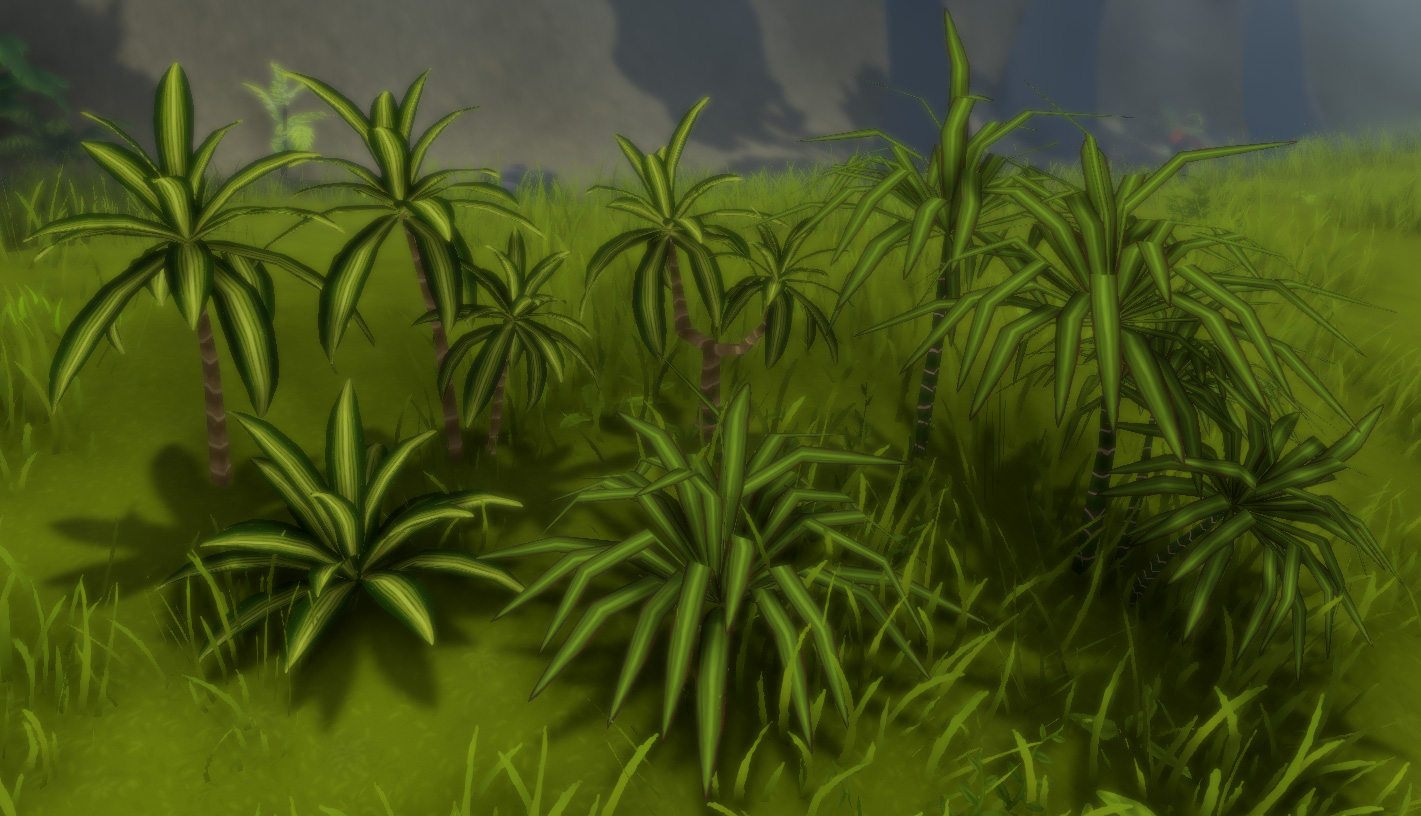 Dracaena Variants
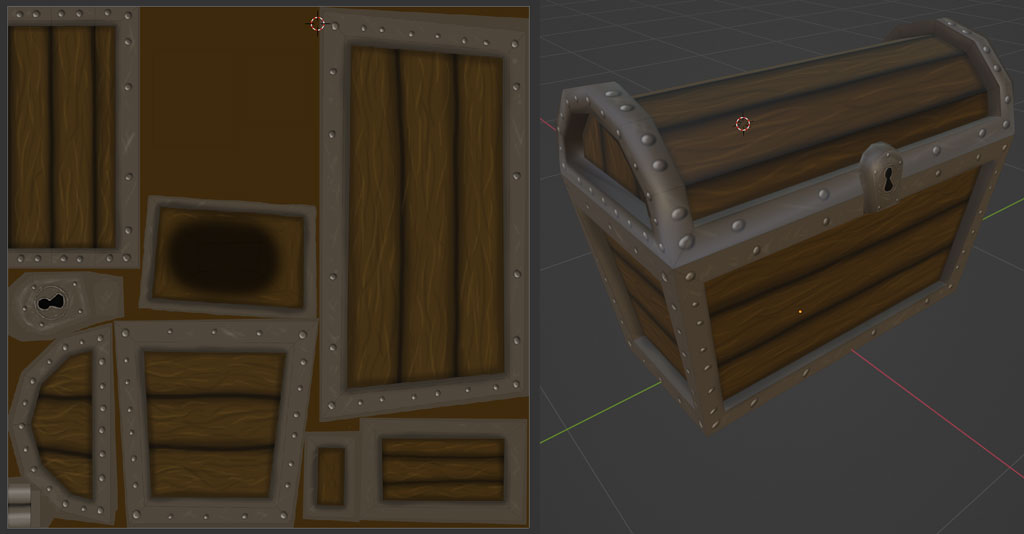 Chest
Chest